

| | Step1: watch a movie | | These might get you going |
|
|
|
| Step 2: the concept | | Light sabers are generated by utilizing a technique called 'rotoscoping', using a post production program such as Adobe After Effects. It's basically a tedious, time consuming process of drawing a glowing, colored polygon around a light saber prop, frame by frame - but it does look really cool once you're finished. View more light sabers here. |
|
|
| Step 3: The light saber prop | | The saber you on the left was created from parts bought at home depot - total cost per saber was about $16.00. The saber blade is wood (about $3.00) and saber handle is a metal sink drain ($12.00)! With a screw to hold the wood blade into the sink pipe (handle) and a whole lot of tape wrapped around the blade (to prevent cracking during choreography battles) we were able to generate pretty decent looking light sabers. We also started replacing the wood blades with plastic although metal would be best as it wouldn't break apart to easy and might save you some tape. |
|
|
| Step 4: What you will need to create the effect | - Your video camera
- Light saber prop
- Adobe After Effects (computer program for windows or mac)
- Light saber sounds (Download them here)
- Experience using After Effects (if not, go here)
|
|
|
| Step 4: Creating the saber effect | - Open After effects and import your video with the light saber prop.
- Create a new composition (called 'composition 1') and place the video clip of your saber on the time line of composition 1.
- Create a second compositoin (called 'composition 2') and place the same video clip onto composition 2.
- Create a new WHITE solid (same size as the second composition) and place that WHITE solid in composition 2.
- Place the video clip in composition 2 UNDERNEATH the white solid in the second composition.
- Hide the WHITE layer in the second composition by clicking on the 'eye' button on the left of the time line.
- Make sure the WHITE layer is selected and click on the pen tool in the tool box.
- With the pen tool, click and make points around the light saber prop to create a polygon around the saber prop.
- Once you've completed the polygon around the saber prop the polygon will show up as yellow (usually you will want 6-10 points depending on the quality of the blade you are making)
- Click the 'eye' button on the WHITE layer again to show the WHITE solid that now should fill ONLY the polygon you just created.
- Congratulations: You have just ROTOSCOPED your first light saber fame.
- NOTE: If you want your saber to MOVE over time with your actor's blade, then you will need to set KEYFRAMES on the WHITE layer over the duration of the video clip during the rotoscoping process
- Once you are done with the rotoscoping, in other words, creating all of your keyframes on the WHITE layer, Give the WHITE layer's mask a feather of 1
- Copy the WHITE layer and give the new copy a mask feather of 10
- Copy the WHITE layer again and give the new copy a mask feather of 20
- Copy the WHITE layer yet again and give the new copy a mask feather of 40
- Again, make sure all your WHITE layers are ABOVE your video clip
- Create a new BLACK layer (same size as composition 2) and place it UNDERNEATH the video clip in composition 2
- Now, hide the video layer in composition 2 by clicking on the 'eye' button
- Drag composition 2 into composition 1 and place the composiiton 2 object just ABOVE the video clip in composition 1, in other words, now you have a layer in composition 1 that is called 'composition 2'
- Within composition 1, select the 'composition 2' layer and set it's blending mode to 'Screen', go to: Layer -> Blending Mode -> Screen
- Your white glowing saber polygon should now show up over your saber prop.
- Select the 'composition 2' layer and adjust it's color balance, set the midtone (whatever color you want your light saber to be) to 100% and highlight to 50%.
- 100% and 50%, respectively, can be changed (and probably should be) depending on how you want your sabers to look but are good starting points.
- Check the 'Preserve Luminosity' check-box.
- You should now have a glowing, colored light saber that looks quite authentic :)
- Again, if you want your saber to MOVE over time with your actor's blade, then you will need to set KEYFRAMES over the course of the video clip during the initial roto-scoping process.
|
|
|
| No experience with After Effects? No problem: | | For an in-depth step-by-step tutorial (for people who have never used Adobe After Effects before), visit Ryan Wieber's lightsaber page for a start on making your own light sabers in After Effects. Then, Ryan also offers an even more in-depth tutorial on saber effects. Ryan has created some of the best saber effects over the years and I highly recommend his tutorials. |
|
|

Adobe After Effects Cracked Version
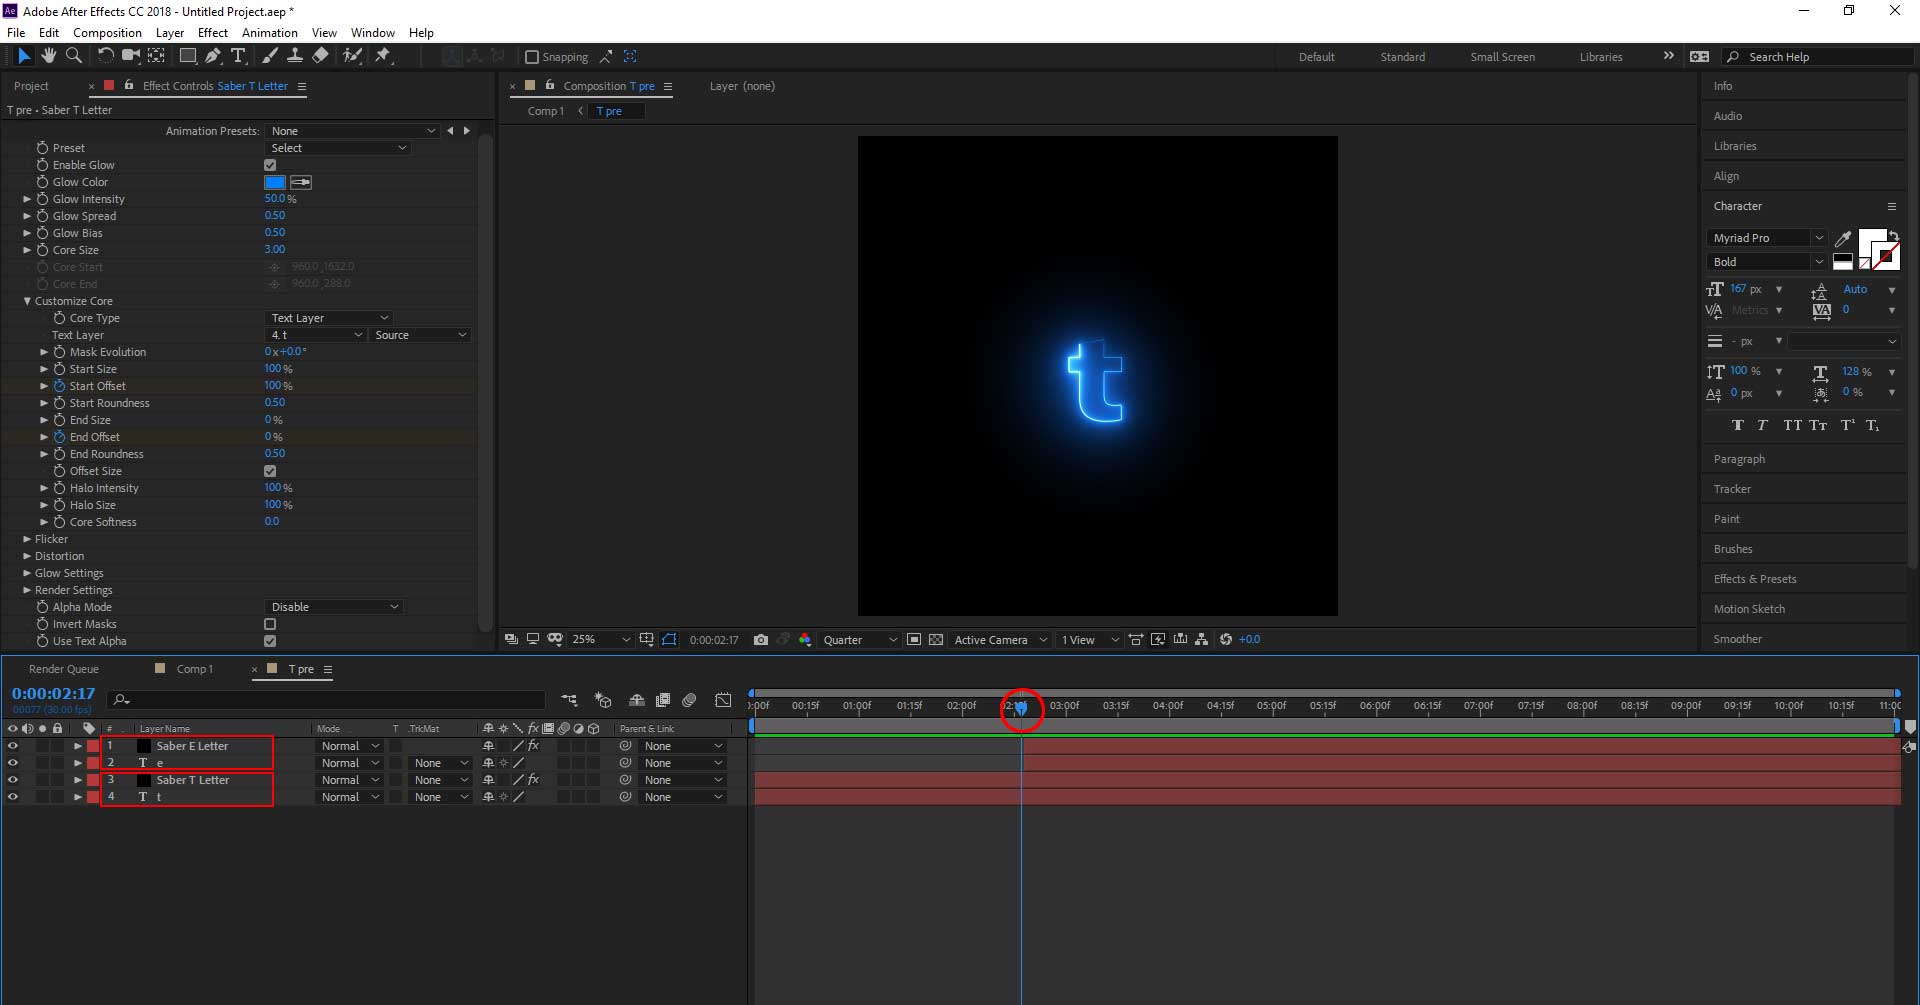
Adobe After Effects pake plugin namanya saber. Tony ngebales Zulfachmad blm psg aplikasi Adobe After Effectsnya bang, lagi fokus diAdobe Premiere dl😊. Zulfachmad Yaudah pakek stock footage aja tapi ngak semaximal AE. Tony Lagi nungu ada yang ngirim tutorial videonya nih. If Saber will not render when you send a comp to the Media Encoder then your GPU is not up to the task or the drivers need updating. Check the settings in the Project Settings (Shift + Alt/Option + Cmnd/Ctrl + k) and your Preferences. After effect tutorial Neon text effects SABER effect. Hello Friends in this Article we Create a Neon text effect for any youtube i. Hello Friends in this Article we Create a Neon text effect for any youtube intro. You can make a beautiful Neon Text intro for your channel. Its very easy, anyone made this intro very easily even if you are. Mar 11, 2016 Once you’ve imported your footage into a new After Effects composition, create a new white solid. The label I chose for my solid: Purple Lightsaber. Step 2: Mask and Keyframe. Next, mask and keyframe the solid so that it surrounds the motion blur of the lightsaber from your reference footage. Try to keep your mask to only four points.
Adobe After Effects Full Crack
MY GAMING CHANNEL (Spapno)YouTube:-:.


